A major shift in building web applications is stepping away from monolithic applications, like, for example, WordPress or Magento. Instead of having data storage, business logic and presentation in one huge monolithic application the shift in internet applications moves to separation of parts.
Headless is a way of doing this for the presentation layer. We separate the presentation from the dependency of a framework’s business logic or class structure. It’s more flexible because we’re free to choose another way of building the presentation.
But how? And with what? I need the data stored in databases and how do I get that data?
Yes, good questions. There are plenty of ways to choose from. A broadly used way is using JavaScript to fetch data from API’s and render it into HTML. But to do this with JavaScript properly, it’s advised (and much easier) to use a JavaScript framework like Angular, Vue or React.
This post covers my initial setup of going headless with NextJS as (React) framework.
NextJS install
First step is to prepare for a NextJS installation. NextJS requires node, so, we need to install this first. You can do this with Brew, but more convenient is using nvm.
After having node we can create a new project with NextJS. I recommend to use TypeScript in your project. It’s harder when starting with React, but it forces you to write better code. Just follow the documentation to installation. I used the npx way of creating an app which gave me the following initial project code and output.
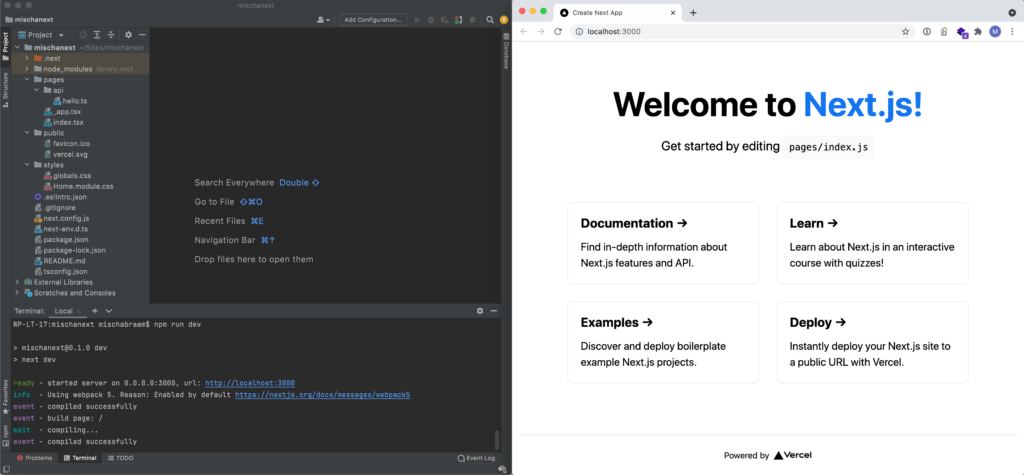
Basically, we have a working NextJS website now. If we would deploy this to a hosted server we would have our first NextJS website showing a “hello”-ish page to any visitor. Awesome!
Routing like WordPress
Before we’re using the WordPress API’s, we first are going to mimic the dynamic routing like WordPress does. With WordPress you can create pages and blog posts at any time with any URL. For example a new page called “My first page” with a full URL of http://localhost:3000/my-first-page. Likewise for blog posts for example called “Any blog article” with a full URL of http://localhost:3000/any-blog-article. So, the routing of WordPress is that it parses the slug (everything after the first slash /) and figures out if it is a page or post and displays its content.
To mimic this in our new NextJS app we simply remove the current /pages/index.tsx and create a new file called /pages/[[...slug]].tsx. If we would place the following simple code into this new file, we would see “Hello World!” at our website at any called URL. So, http://localhost:3000/any-blog-article and http://localhost:3000/my-first-page would display this.
const Page = () => {
    return (
        <>
            Hello World
        </>
    )
}

export default Page;
Now, if we change this so we would actually use the slug in a way so we can use the slug to fetch data, we could have something like the following code.
export const getServerSideProps = async (context) => {
    const slug = context.query.slug ?
        context.query.slug.join('/') :
        '';

    return {
        props: {
            slug: slug
        }
    };
}

const Page = ({slug}) => {
    return (
        <>
            Hello World on /{slug}
        </>
    )
}

export default Page;
This will only display the current called slug, but we now can use it to fetch content from WordPress.
Connecting to WordPress
Next step is to connect our app to WordPress to fetch data. WordPress has several REST API’s already built-in to connect to, lucky us! To see what these API’s have to offer, I’ve created a Postman collection with the most used API’s which you can import and makes it super visible.
With the WordPress API’s you can fetch a page or post by its slug. If you do so the API will return a JSON object of the page or post including the rendered title and the rendered content. Rendered, meaning it will include HTML tags. For now, that’s fine.
Now, let’s take our last piece of code and extend it with calling WordPress to fetch data. We can alter the file /pages/[[...slug]].tsx into the following.
export const getServerSideProps = async (context) => {
    const slug = context.query.slug ?
        context.query.slug.join('/') :
        '';

    // try to get page
    const page = await fetch(`https://<your.domain.com>/wp-json/wp/v2/pages?status=publish&slug=${slug}`)
        .then(data => data.json());
    if (page && page.length) {
        return {
            props: {
                slug: slug,
                data: page[0]
            }
        };
    }

    // if failed, try to get post
    const post = await fetch(`https://<your.domain.com>/wp-json/wp/v2/posts?status=publish&slug=${slug}`)
        .then(data => data.json());
    if (post && post.length) {
        return {
            props: {
                slug: slug,
                data: post[0]
            }
        };
    }

    return {
        props: {
            slug: slug
        }
    };
}

const Page = ({slug, data}) => {
    return (
        <>
            Hello World on /{slug}
            <h1>{data.title.rendered}</h1>
            <div dangerouslySetInnerHTML={{__html: data.content.rendered}}/>
        </>
    )
}

export default Page;
And voila, you have a basic headless frontend fetching data from WordPress.
Of course we can enhance a lot of this code, but here’s a basic idea of how to do this.